I love making these molten soy eggs at home because they’re incredibly simple yet taste just like the ones from a ramen shop.
The creamy yolk and savory marinade make them perfect for ramen, rice bowls, or even a snack.
Why you’ll love this recipe
- Foolproof method with clear timing for perfect molten yolks
- Simple ingredients with easy substitutions
- Restaurant-quality flavor made right in your kitchen
- Great for meal prep—make ahead and store in the fridge
Ingredients (makes 6 eggs)
- 6 pasteurized eggs (cold, straight from the fridge)
- 60ml light soy sauce
- 60ml mirin (or 10ml honey + 5ml cooking wine as substitute)
- 200ml water
- 15g sugar
- 1 large bowl ice water (for cooling)
- Note: Always use pasteurized eggs for safety. Cold eggs from the fridge are less likely to crack during boiling. Adjust sugar depending on taste—reduce 5g for saltier flavor, add 5g for sweeter flavor.

Instructions
Prepare the eggs
Rinse eggs gently, let them rest 5 minutes at room temperature. Bring a pot of water to boil, then reduce to gentle simmer.
Boil the eggs
Carefully lower eggs into the pot with a spoon. Simmer for 6 minutes for molten yolks. (5–5.5 min = very runny, 7 min = firmer yolks.)
Ice bath
Transfer eggs immediately to ice water. Chill 5–10 minutes to stop cooking and make peeling easier.
Make the marinade
In a small pot, combine 60ml light soy sauce, 60ml mirin, 200ml water, 15g sugar. Stir and simmer 1–2 minutes until sugar dissolves. Cool completely.
Peel the eggs
Crack the wider end first and peel gently. If shell sticks, dip back into ice water while peeling.
Marinate
Place eggs in airtight container. Pour cooled marinade until fully submerged. Cover with plastic wrap touching the surface. Refrigerate 12–24 hours (up to 30 for stronger flavor).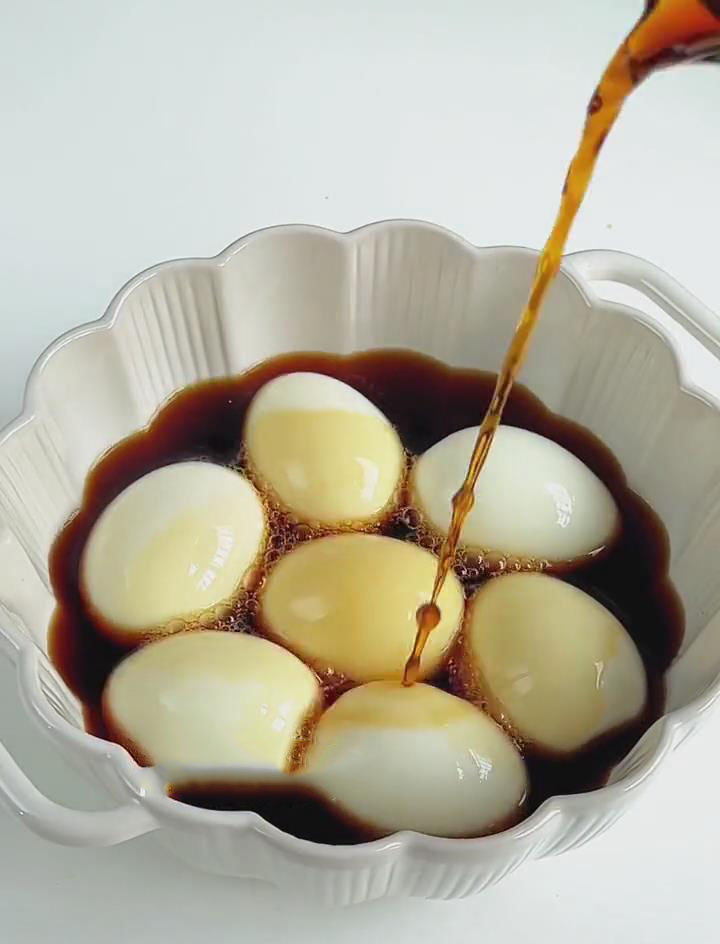

Serve
Slice in half with a sharp knife (wipe with marinade to prevent sticking). Enjoy with ramen, rice bowls, or as a snack.
Frequently Asked Questions
Q: How do I prevent the eggs from cracking?
A: You can prick a tiny hole in the wider end before boiling, or add 1 tsp salt to the boiling water—this helps seal the egg white if cracks form.
Q: How long can I store these eggs?
A: Keep them in the marinade, refrigerated, for up to 3 days. They taste best within 2 days.
Q: Can I reuse the marinade?
A: Yes. Strain it, refrigerate, and re-boil with 10ml water before reusing. You can use it up to 2 times.
Q: Can I make the yolk firmer or runnier?
A: Absolutely. Boil 5–5.5 minutes for lava-like yolks, 6–6.5 minutes for soft-set, or 7 minutes for firmer centers.

Japanese Molten Soy Eggs (Ajitsuke Tamago)
Ingredients
- 6 pasteurized eggs cold, straight from the fridge
- 60 ml light soy sauce
- 60 ml mirin or 10ml honey + 5ml cooking wine as substitute
- 200 ml water
- 15 g sugar
- 1 large bowl ice water for cooling
- Note: Always use pasteurized eggs for safety. Cold eggs from the fridge are less likely to crack during boiling. Adjust sugar depending on taste—reduce 5g for saltier flavor add 5g for sweeter flavor.
Instructions
Prepare the eggs
- Rinse eggs gently, let them rest 5 minutes at room temperature. Bring a pot of water to boil, then reduce to gentle simmer.
Boil the eggs
- Carefully lower eggs into the pot with a spoon. Simmer for 6 minutes for molten yolks. (5–5.5 min = very runny, 7 min = firmer yolks.)
Ice bath
- Transfer eggs immediately to ice water. Chill 5–10 minutes to stop cooking and make peeling easier.
Make the marinade
- In a small pot, combine 60ml light soy sauce, 60ml mirin, 200ml water, 15g sugar. Stir and simmer 1–2 minutes until sugar dissolves. Cool completely.
Peel the eggs
- Crack the wider end first and peel gently. If shell sticks, dip back into ice water while peeling.
Marinate
- Place eggs in airtight container. Pour cooled marinade until fully submerged. Cover with plastic wrap touching the surface. Refrigerate 12–24 hours (up to 30 for stronger flavor).
Serve
- Slice in half with a sharp knife (wipe with marinade to prevent sticking). Enjoy with ramen, rice bowls, or as a snack.


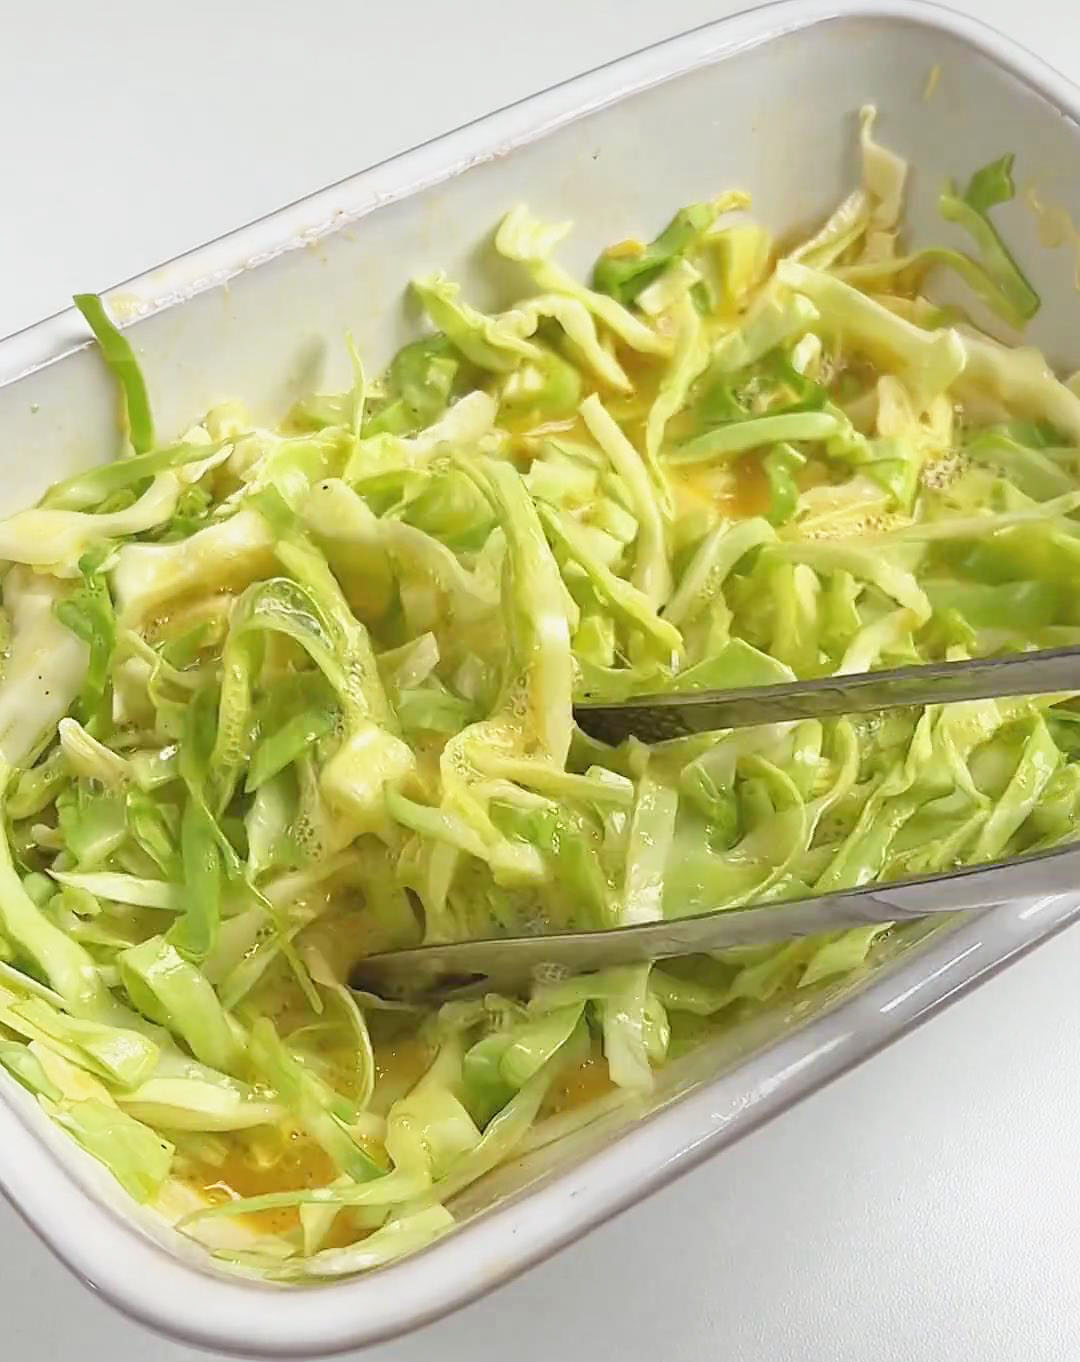
 Add a pinch of salt and some sugar, then stir until well combined.