I love making this Garlic Butter Honey Chicken Wings because the combination of crispy skin, juicy meat, and a sweet-savory glaze is absolutely irresistible.
Every bite bursts with buttery, garlicky, and honeyed flavors, making it perfect for a cozy night in, a fun gathering, or a quick family dinner. It’s simple, zero-fail, and I promise, you’ll want to lick your fingers clean!
These wings are golden, crunchy on the outside, and tender on the inside. The buttery garlic honey sauce adds a restaurant-quality finish, but the recipe is beginner-friendly and easy to follow. You’ll impress everyone with minimal effort and maximum flavor.

Why you’ll love this recipe
- Crispy, golden skin with juicy, flavorful meat inside
- Sweet, garlicky, and buttery glaze that balances perfectly
- Quick and easy to make, perfect for beginners
- Great for snacks, dinners, or party appetizers
- No-fail recipe with simple ingredients you already have

Ingredients
Chicken Wings & Marinade
500g chicken mid-wings (about 10–12 pieces)
Ginger slices – a few pieces
Spring onion segments – a few pieces
2 tbsp light soy sauce
1 tbsp oyster sauce
1 tsp black pepper, crushed
A pinch of salt
1 tbsp cooking wine
Coating & Frying
Enough corn starch or potato starch to coat
Enough cooking oil for pan-frying
Garlic Butter Honey Sauce
20–25g butter
3–4 cloves garlic, minced
1 tbsp light soy sauce
1 tbsp oyster sauce
1 tbsp honey
A sprinkle of chopped parsley (for garnish)

Instructions
- Prepare the chicken wings
Wash the wings and pat dry with paper towels. Use a skewer or fork to pierce small holes on both sides so the marinade penetrates quickly. Place in a large bowl.

- Marinate
Add ginger slices, spring onion segments, 2 tbsp soy sauce, 1 tbsp oyster sauce, crushed black pepper, a pinch of salt, and 1 tbsp cooking wine. Mix well with your hands and let it marinate for 15–20 minutes.
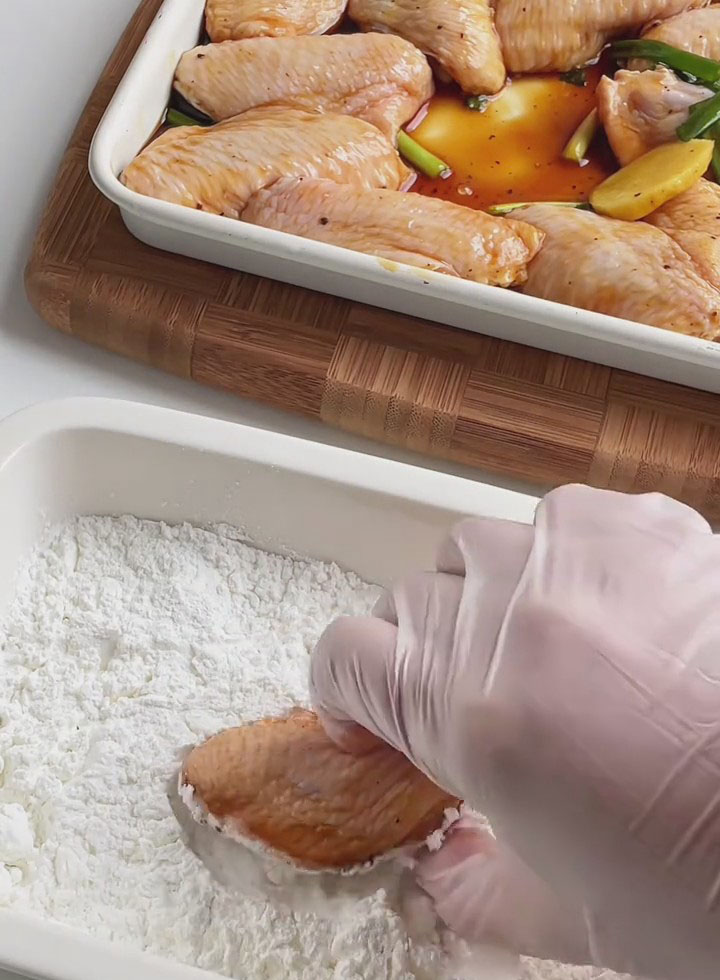
- Coat with starch
Place the wings in starch and coat evenly. Shake off any excess. Let rest for 3–5 minutes to allow the coating to set, which helps make the wings extra crispy when fried.
- Pan-fry the wings
Heat oil in a pan over medium-low heat. Fry the wings until both sides are golden brown and crispy. Remove and set aside.

- Make the garlic butter honey sauce
Leave a small amount of oil in the pan. Add butter over low heat until fully melted. Add minced garlic and sauté until fragrant. Stir in 1 tbsp soy sauce, 1 tbsp oyster sauce, and 1 tbsp honey, mixing quickly.

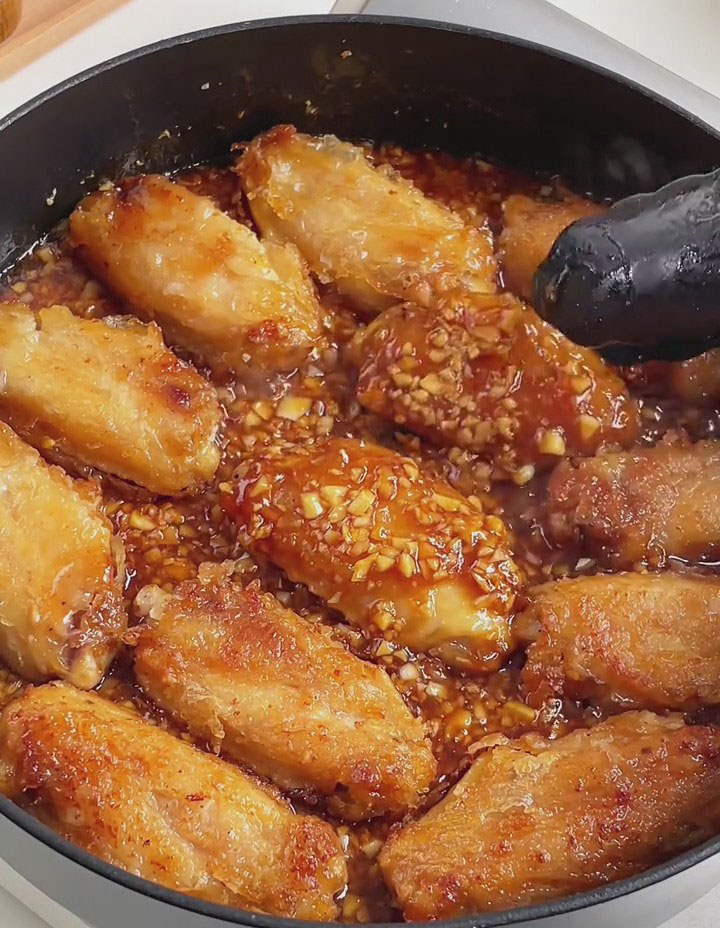
- Coat the wings
Add the fried wings to the sauce and toss constantly until each wing is evenly coated. Sprinkle with chopped parsley and serve immediately.
Frequently Asked Questions
Q: Can I bake the wings instead of frying?
A: Yes! Bake at 200°C (390°F) for 25–30 minutes until crispy, then toss in the sauce.
Q: Can I use frozen wings?
A: Absolutely! Just thaw completely and pat dry before marinating.
Q: How do I get extra crispy wings?
A: Let the wings rest after coating in starch, and fry over medium-low heat to avoid burning while keeping the skin crispy.
Q: Can I substitute honey?
A: Maple syrup or golden syrup works too, but honey gives the best sweet-savory balance.

Internal links for inspiration:
- salt-and-pepper-chicken-wings
- Crispy Salt & Pepper Chicken Wings Stuffed with Shrimp Paste
- Deep Fried Chicken Wings

Garlic Butter Honey Chicken Wings Crispy, Juicy & Finger-Licking Good
These wings are golden, crunchy on the outside, and tender on the inside. The buttery garlic honey sauce adds a restaurant-quality finish, but the recipe is beginner-friendly and easy to follow. You’ll impress everyone with minimal effort and maximum flavor.Ingredients
Chicken Wings & Marinade
- 500 g chicken mid-wings about 10–12 pieces
- Ginger slices – a few pieces
- Spring onion segments – a few pieces
- 2 tbsp light soy sauce
- 1 tbsp oyster sauce
- 1 tsp black pepper crushed
- A pinch of salt
- 1 tbsp cooking wine
Coating & Frying
- Enough corn starch or potato starch to coat
- Enough cooking oil for pan-frying
Garlic Butter Honey Sauce
- 20 –25g butter
- 3 –4 cloves garlic minced
- 1 tbsp light soy sauce
- 1 tbsp oyster sauce
- 1 tbsp honey
- A sprinkle of chopped parsley for garnish
Instructions
Prepare the chicken wings
- Wash the wings and pat dry with paper towels. Use a skewer or fork to pierce small holes on both sides so the marinade penetrates quickly. Place in a large bowl.
Marinate
- Add ginger slices, spring onion segments, 2 tbsp soy sauce, 1 tbsp oyster sauce, crushed black pepper, a pinch of salt, and 1 tbsp cooking wine. Mix well with your hands and let it marinate for 15–20 minutes.
Coat with starch
- Place the wings in starch and coat evenly. Shake off any excess. Let rest for 3–5 minutes to allow the coating to set, which helps make the wings extra crispy when fried.
Pan-fry the wings
- Heat oil in a pan over medium-low heat. Fry the wings until both sides are golden brown and crispy. Remove and set aside.
Make the garlic butter honey sauce
- Leave a small amount of oil in the pan. Add butter over low heat until fully melted. Add minced garlic and sauté until fragrant. Stir in 1 tbsp soy sauce, 1 tbsp oyster sauce, and 1 tbsp honey, mixing quickly.
Coat the wings
- Add the fried wings to the sauce and toss constantly until each wing is evenly coated. Sprinkle with chopped parsley and serve immediately.


